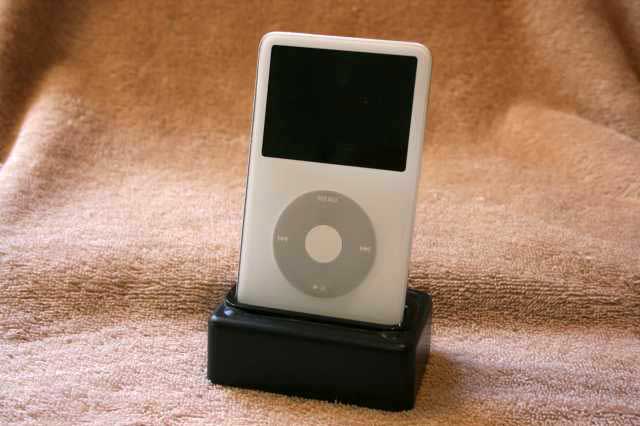
So, after two (1 and 2) attempts at making a dock for my ipod, I decided to make another. Apparently this is some sort of addiction or something. To ease my withdrawl symptoms, I headed off to Radio Shack for some parts. Instead of fabricating the dock, I decided to use something a little easier--if not less impressive--and went for a small, black project box. I also wanted to use the dock adaptors that come with the new (5th gen.) iPods, but those are white. I knew a paint job would never look as good as colored plastic, but luckily, there was a solution. I was able to use an identical dock adaptor that comes with an iPod/clock/radio combo (similar to the iHome) which just so happened to be black. Additionally, I wanted not only audio and USB data transfer/charging, but I wanted video out capbablity (for those of you that pay attention to such things, this is exactly two more capabilities than my dock 2.0--USB data and video out) Originally, I wanted to have a complete female 30-pin iPod dock connector port in the back (just like the official Apple dock), but the soldering turned out to be much too insanity-inducing. So, I changed my plans midway through, and went with just a USB port. Now, onto the making of the dock.
Parts:
- small (3" x 2" x 1") Radio Shack project box
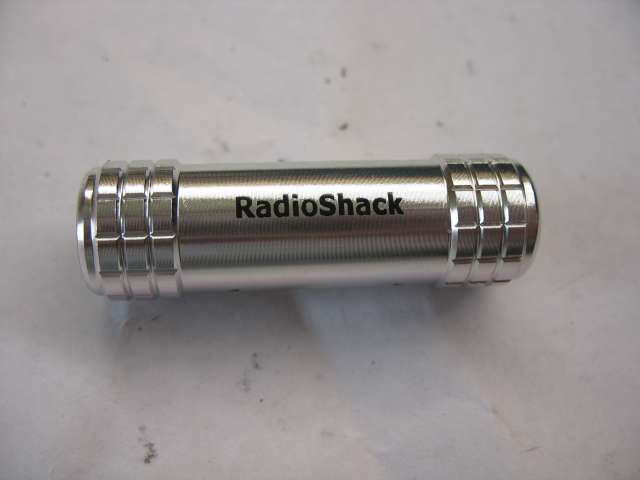
- iPod dock adapter
- female USB port
- female stereo headphone (1/4") port
- female S-video port
- male 30-pin iPod dock connector
- wire
Making the Case
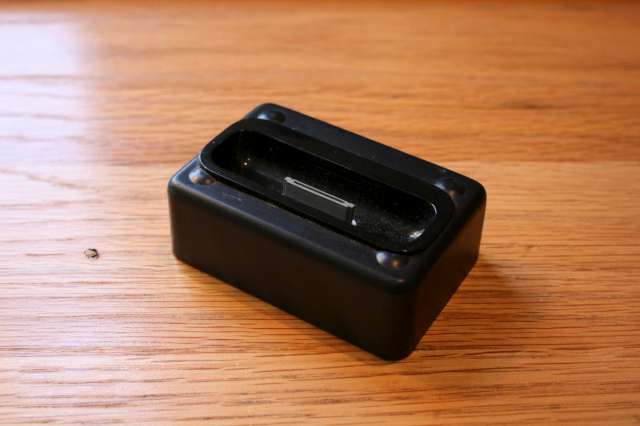
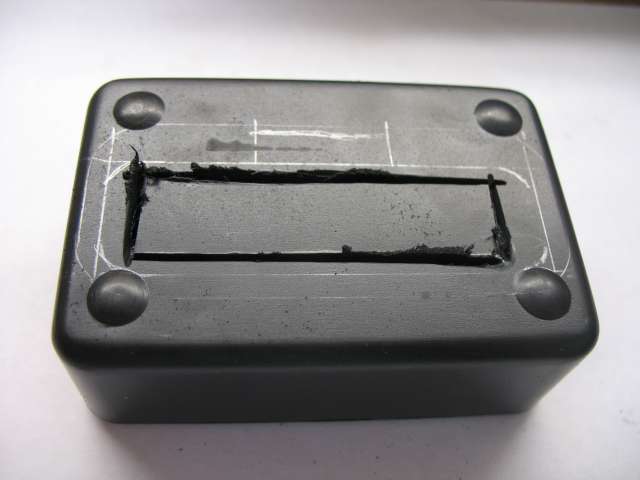
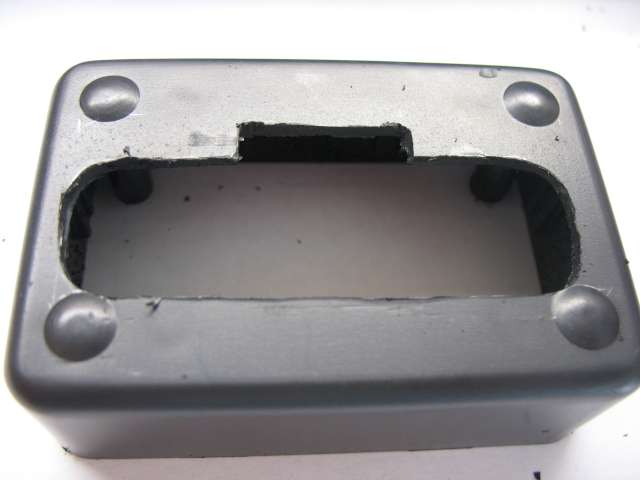
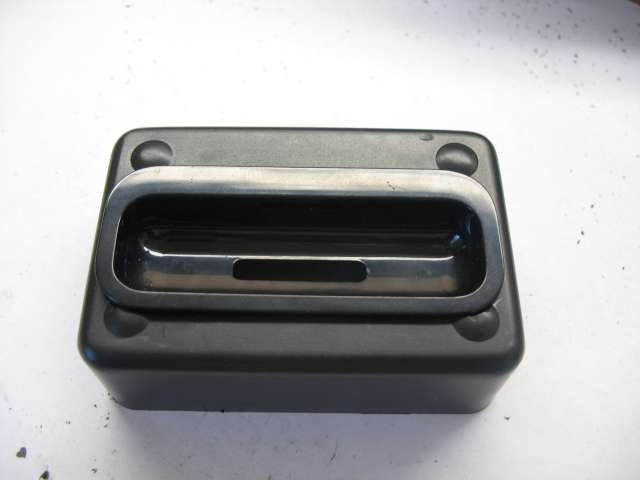
I started out by tracing the dock adapter's general shape onto the bottom of the project box. I did it this way so the screws wouldn't show when the dock is being used. (And speaking of screws, that's another reason I wanted to go with the project box, instead of making my own case, because I could easily take the box apart to rewire/fix any problems). I used a Dremel tool with some sort of circular sawing bit to start cutting out the opening. I carefully cut out the main portion before finishing off the hole with a round, sanding bit. It turned out I had to make some adjustments to get the adapter to fit (a little more here, a little more round there, etc.) but eventually I got the hole cut out and the adapter in. Below are pictures of the finished opening and the dock adapter fitted in place. It's a pretty good match--the only part I'm slightly unhappy with is near the little 'feet' that protrude from the project box. The front two had to be cut into a little for the adapter to fit. |
 |
 |
|
The main body of the dock was now complete (save for a few small holes for the various ports). All that was left to do was electronic work, which included wiring the 30-pin dock connector to the USB, audio, and S-video ports. But first, I had to prepare the specimens!
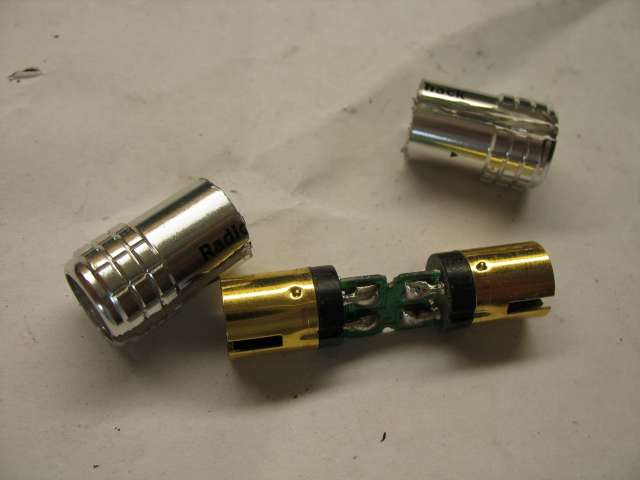
 I got the female USB port from an old circuit board and bought the 1/4" stereo headphone jack from Radio Shack. Unfortunately, all Radio Shack had in the way of S-video ports was this silly (though dual) S-video cable extender (left). I figured it would be fairly easy to separate one of the ports from its Siamese twin, so I went ahead and bought it. After cutting through the metal casing, I was able to get a good look at the beat's innards. Then, it was a simple desoldering job to get one S-video port. I got the female USB port from an old circuit board and bought the 1/4" stereo headphone jack from Radio Shack. Unfortunately, all Radio Shack had in the way of S-video ports was this silly (though dual) S-video cable extender (left). I figured it would be fairly easy to separate one of the ports from its Siamese twin, so I went ahead and bought it. After cutting through the metal casing, I was able to get a good look at the beat's innards. Then, it was a simple desoldering job to get one S-video port. |
 |
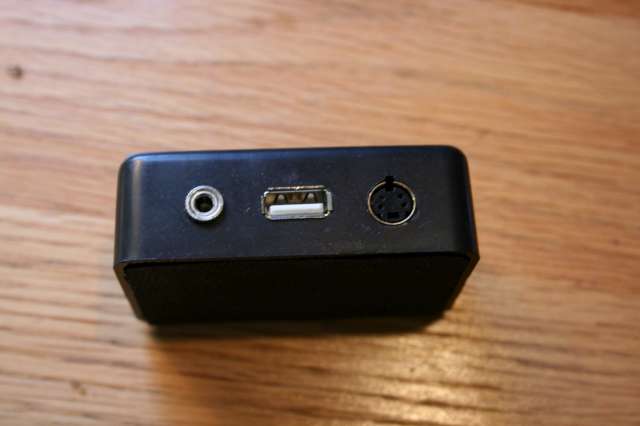 |
I drilled a couple of appropriately-sized holes for the audio and S-video ports. The audio port was easy to install, because it came with a nice threaded collar and post. I just had to drill the hole and secure the port. As for the S-video port, I cut a hole that was just as big as the outer diameter of the port, then cut out a small notch at the top with a razor blade. This was for the small nub that protrudes from the edge of the S-video cable. I had to secure the port with super glue, because there was no slick way to get it to stay put. I also had to make a USB plug sized hole in between those two circular holes. To do this, I carefully traced out the rectangle and used a drill to put a couple of holes in a rough rectangular pattern. Then, I was able to file the edges until the USB port fit right in. With everything in place, I just had to solder the connections and glue everything in place. |
Wiring the Connections
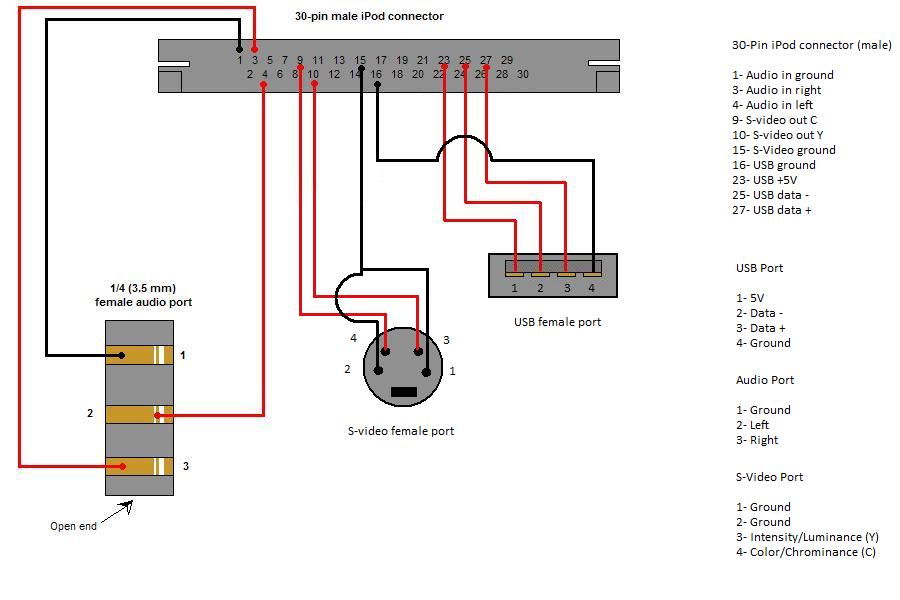
I did a lot of research on various pin-outs--S-video, USB, and 30-pin iPod connector and figured out how everything had to be wired up. You can find help on soldering the teensy iPod connector pins here. Here's a diagram of the dock wiring:
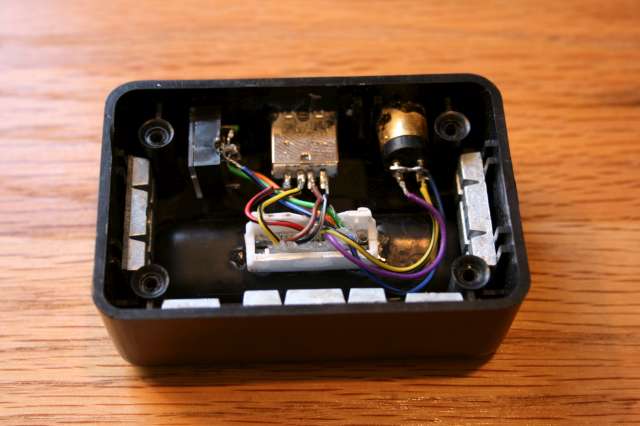
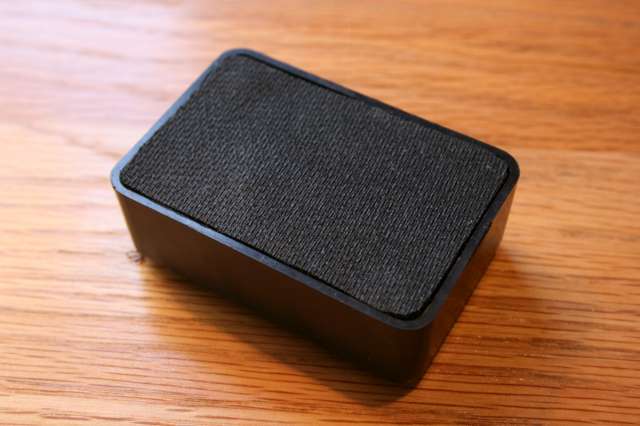
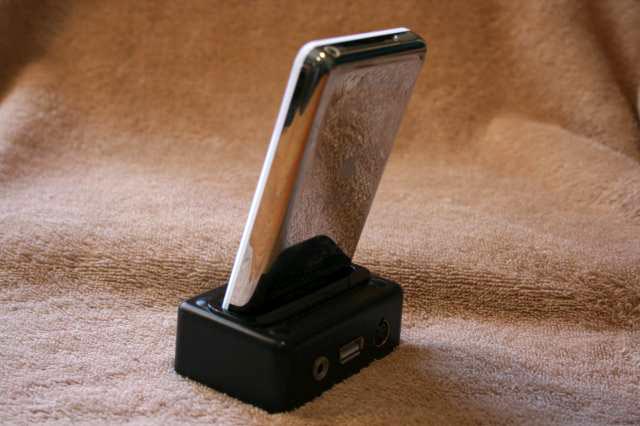
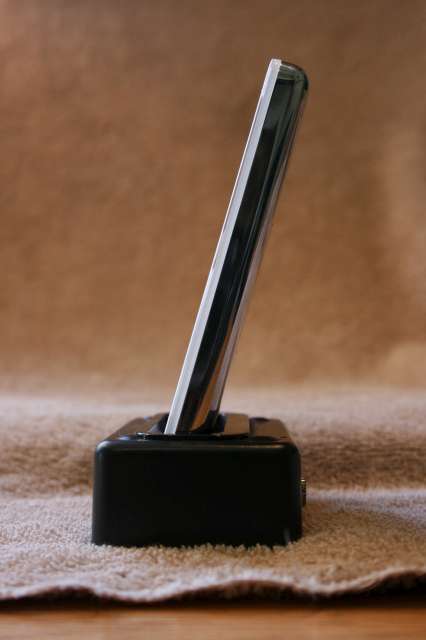
As a note, I haven't yet tested the S-video output, but I use the audio out and USB transfer every day. Its nice to be able to dock my iPod and have it sync with iTunes now. Plus, the easily removable housing lets me fix any wiring issues (or update the dock) that may come up. I also added some pine derby car weights inside the dock to give it some mass (as seen in the photo above), and I attached some non-skid material to the bottom (as seen below) Here are some photos of the finished dock.