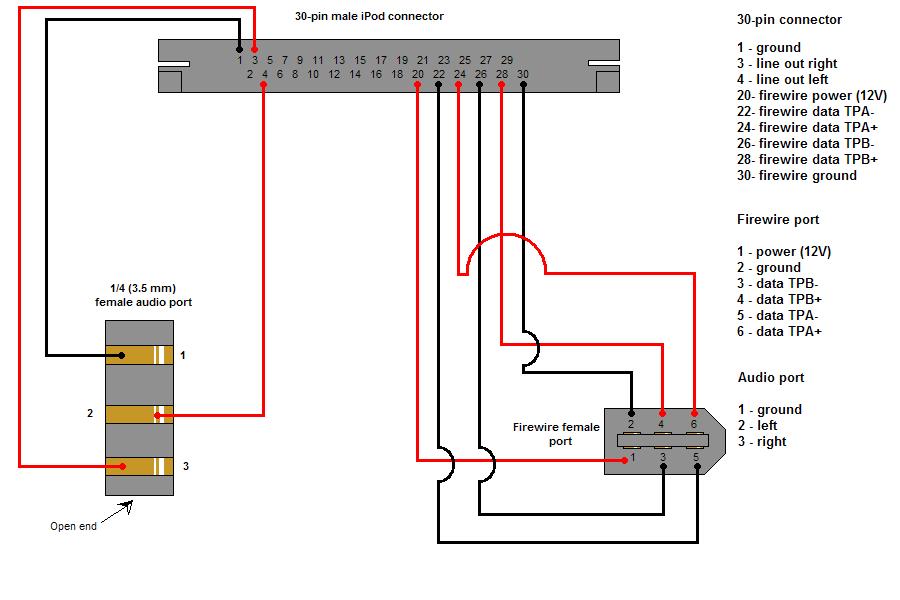
After I posted my first iPod Dock in the iLounge forums, some guy by the name holto2go posted an interesting idea. He sells the 30-pin connectors that iPods use for much less than anywhere else. (It seems he's out of the business now, but you can snag a 30-pin male connector from Sparkfun.) He suggested that I use one of those to customize my dock. After a few more posts, I had a pretty good idea of how to include an audio out in my dock. I got audio out, he got sales; sounds pretty good to me! Afterwords, I figured I not only wanted power to my iPod, but the ability to take the firewire cord and plug it into my computer for music transfer. I researched pin layouts and such and came up with a good schematic that included audio out, power, and data transfer. Below is the schematic I built from.
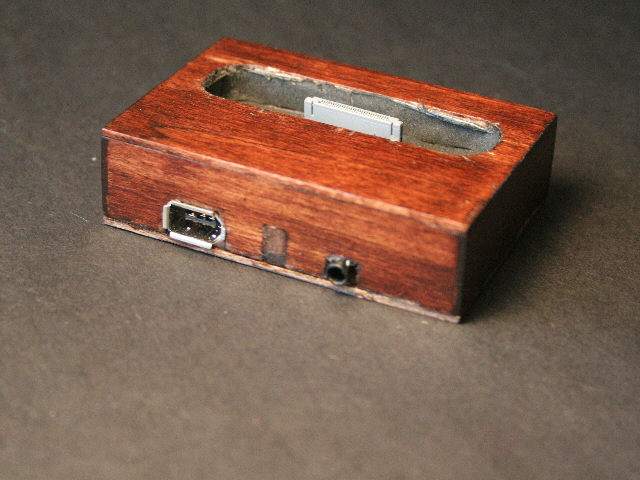
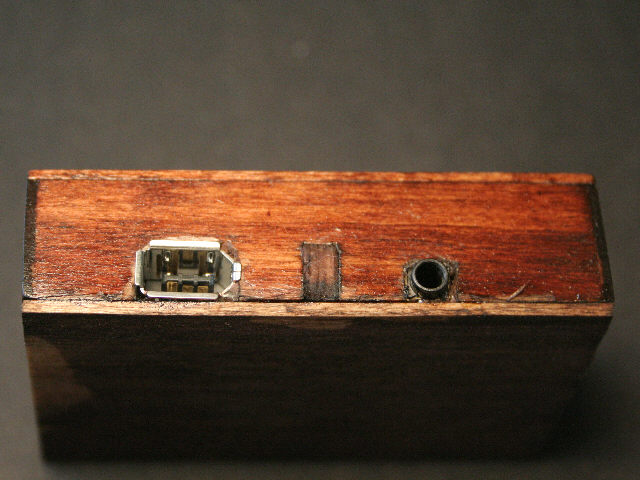
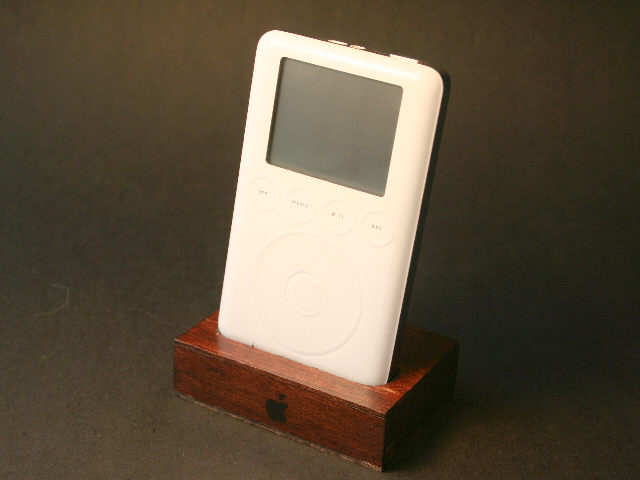
This new setup has many benefits. The most obvious of which is being able to play music through my stereo without a big cable coming out of the top of my iPod. Also, since the 30-pin connector doesn't have the plastic casing that the Apple one has, the dock can now sit flat on a surface, instead of needing feet to give ground clearance. Finally, since I used a firewire port instead of a firewire cable, the dock can be disconnected from the audio and firewire cables to be transported, shown off, or gazed at. Other than adding electronic features, the actual dock itself didn't change much. A how-to follows:
Construction
 |
 |
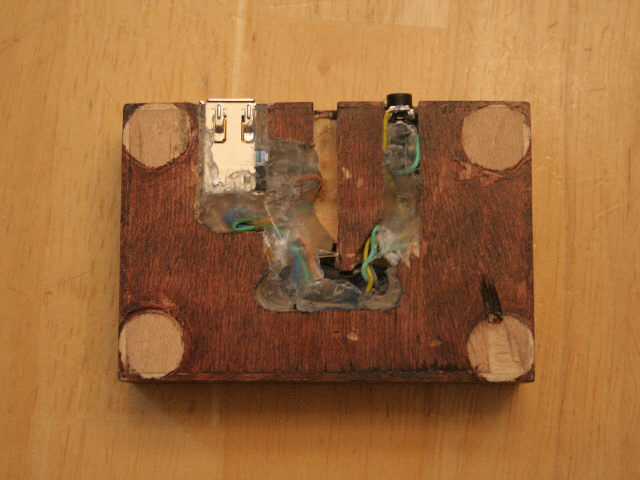 |
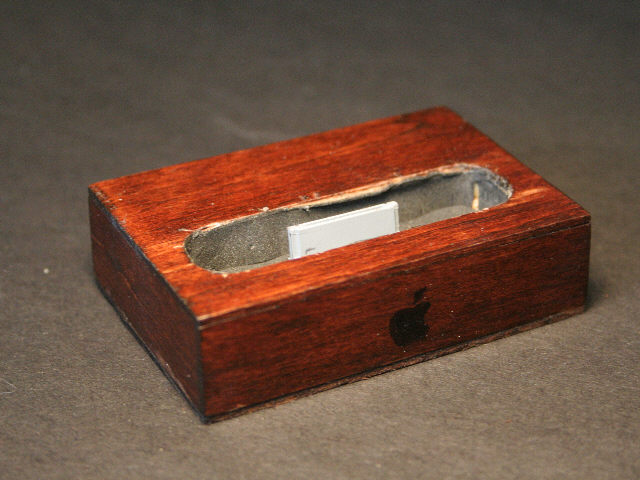
Like I said, the new dock is constructed just like the old one. In fact I used the same one, just modified it. The only difference in construction is the bottom. Instead of just making one groove for the cord, you need 2 strangely-shaped grooves for the firewire and audio out wires. I just put my assembly on the dock (being sure to have the dock connector facing so that the front of the iPod would be at the front of the dock) and traced out where grooves needed to be. Then I went at it with a Dremel tool to get all that material out. when I was done with that, I did a test fit, and made any adjustments. One of the adjustments I had to make was wrapping the 30-pin connector in electrical tape so it would fit in the hole that was already there. When everything was in its place, I smothered the whole thing in hot glue, all the way up to the bottom surface. Since the whole assembly didn't extend past the bottom, I could remove the little feet that were there with some pliers. The final step was to make a bottom veneer plate just like I made the ones for the other 5 sides. After that was stained to match, I had a fine dock suitable to any iPod occcasion. |