When I got my first iTrip, I loved it. Yea, the range and quality could be better, but hey, I've got my iPod playing in my car. Then I found a tutorial online which explained how to increase the iTrip's range simply by taking the antenna out of the case. When I did it, I was amazed at the increase in audio quality. Such a simple hack can easily make your iTrip much better. Then I got the new iTrip LCD from Griffin, which has an LCD screen to display the station and a knob to change it. Griffin says the LCD version has better audio quality and range than the old iTrip, but it still didn't match my hacked iTrip. Since I couldn't find a tutorial online, I decided to just dive in. I used the same basic method as with the old iTrip, with a few small changes. Now that I have done this, my iTrip is much better. It rarely has any static, and I can have it up to 50 feet away from my home stereo. If you decide to do this to your iTrip, know that it does void the warranty, and you need to be very careful. Click on any picture for a larger view.
Step 1 | |
| First, obtain a very sharp razor blade. Then, starting at the bottom of the iTrip,(next to the two plugs) use the razor blade to cut open the iTrip. Run the blade along the seam at the bottom of the iTrip 5-7 times, until it is all the way through the plastic casing. From here, you can either do the same to the top and side, but I just used a flat head screwdriver to crack open the case and break the seal on the top and left side. By not cutting the top and side, you can avoid breaking the little posts that hold the case together, shown in red circles. You won't be able to open the unit all the way (at least I wasn't), but you'll be able to crack it open enough to access the copper antenna. This picture shows the antenna after I bent it outward, but the original position is shown in red. | 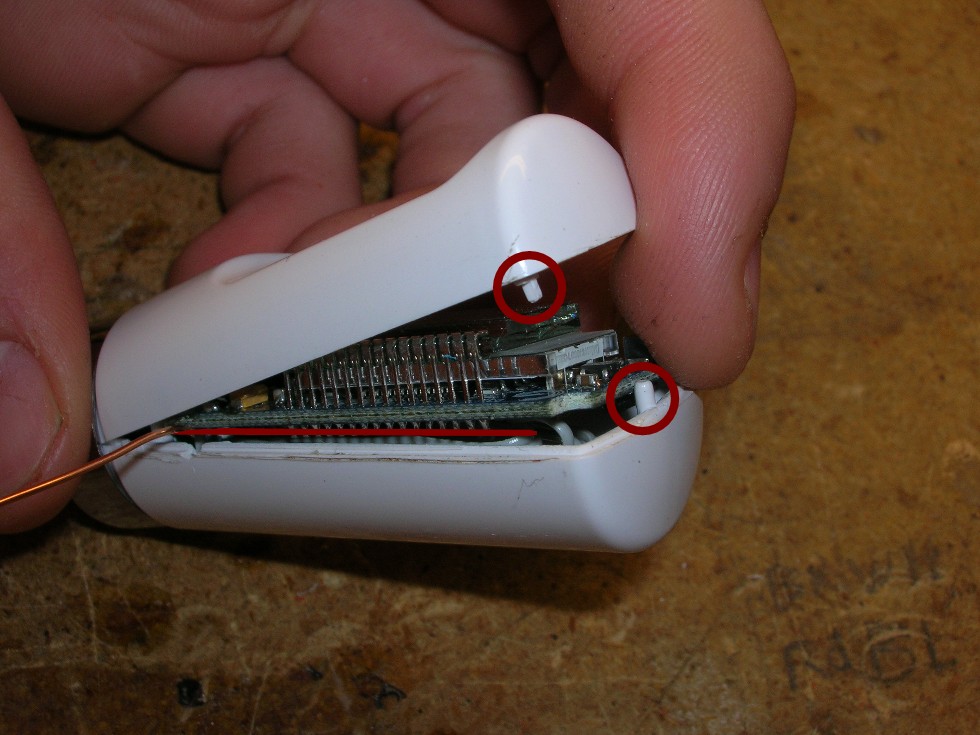 |
Step 2 | |
| Now that the antenna is sticking out of the case, you need to cut a small notch where the antenna can pass through the case. Simply use the razor blade to carefully nick out a little piece of plastic, making it just big enough for the case to be able to close. | 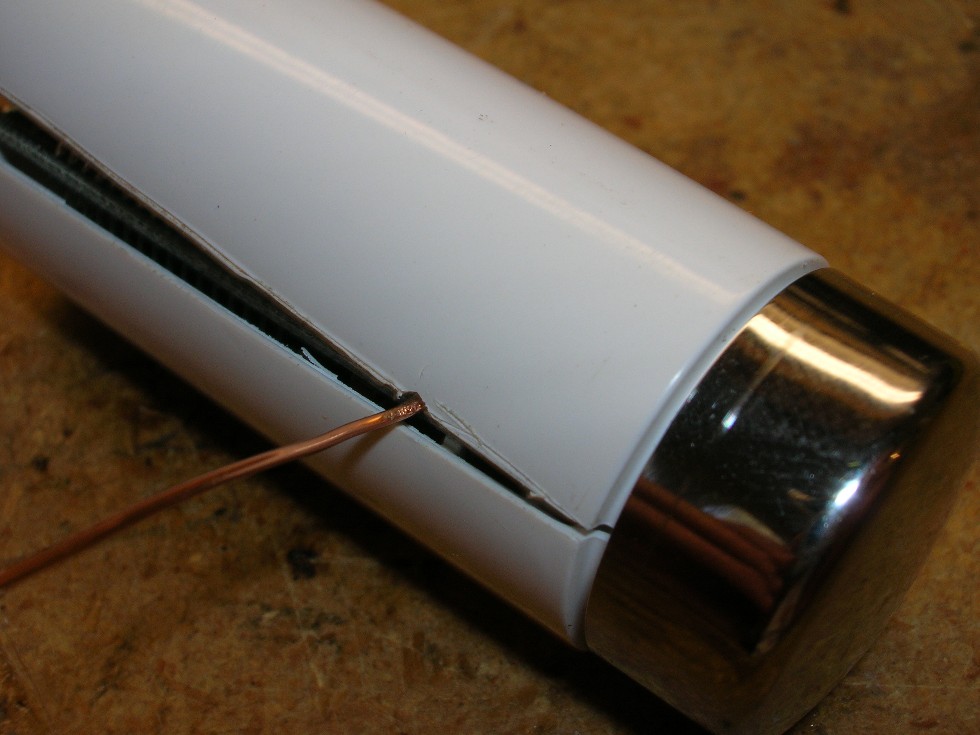 |
Step 3 | |
| If the case can close with no problem, it's time to glue. (Note: The iTrip LCD is really packed into that little case. It may take some prodding with a small screwdriver or something to stuff all the wires back in there. However you do it, just be careful! Cut wires and working iTrips do not coincide.) I used a few drops of Krazy Glue, although it wasn't very krazy. Rather uneventful, actually. | 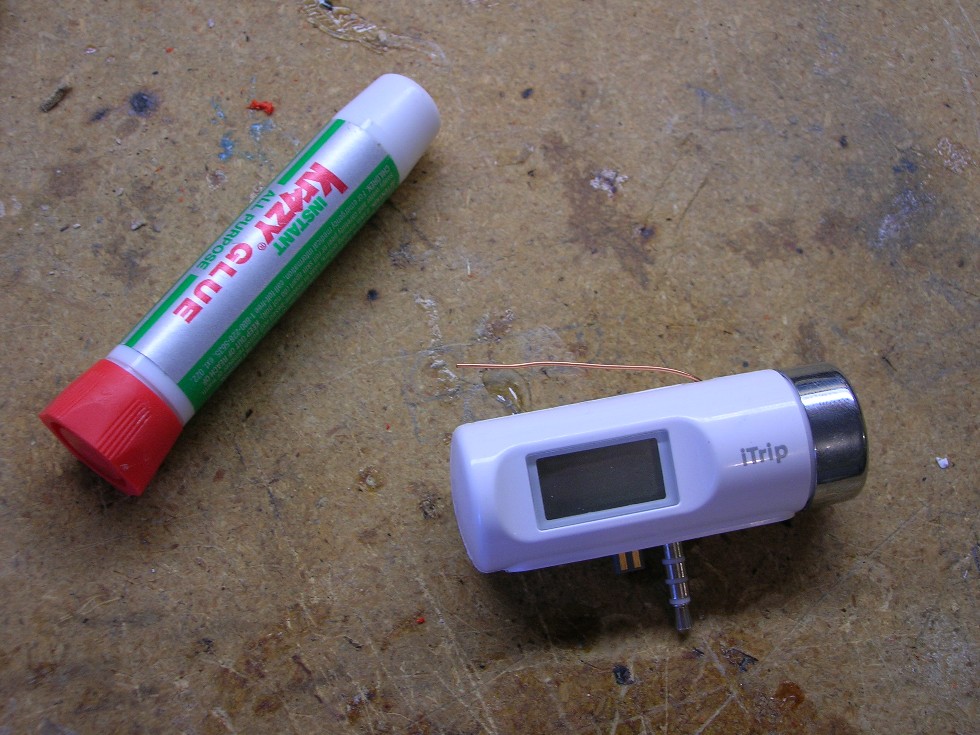 |
Step 4 | |
| You could leave it just like this, but to get even better reception, we need to add some antenna wire. In order to get lots of wire in a small space, we'll just wrap it around the antenna. To do this, you need some stranded wire. You could use speaker wire, but I used wire from and old power cord I had laying around, and just twisted the strands together after stripping the whole thing. Voila! A long, uninsulated, soon-to-be-antenna wire. |  |
Step 5 | |
| Get out a saftey pin or small paperclip and wrap the wire around the pin in a tight spiral. Once it is nice and tight on there, you can trim it to the same length as the iTrip antenna. |  |
Step 6 | |
| Slip the helix of wire off the saftey pin, and put it on the antenna. You can add a dot of glue at the base of the antenna to keeep it on if you want. Now, with that easy modification, your iTrip will be the talk of the town! |  |